Repotting houseplants is the best way to give them a boost when they’re struggling, and support their long-term growth. Use this simple repotting guide as a handy reference to make sure you’re keeping the process as stress-free as possible.
Step 1: Choose the Right Soil
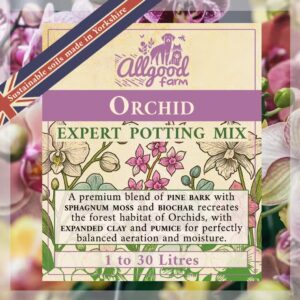
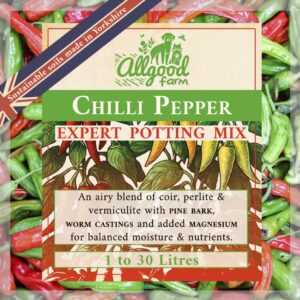
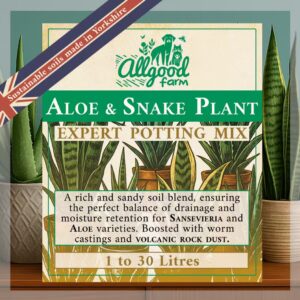
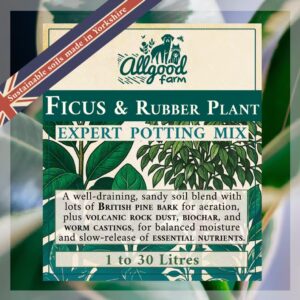
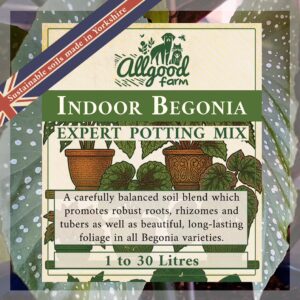
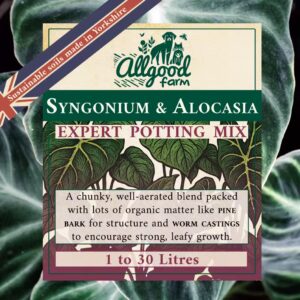
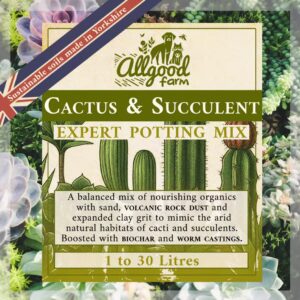
Every houseplant has different needs, and matching your plant to the perfect potting mix is the best way to keep roots healthy and growth strong.
Expert potting mixes make sure to balance:
- Moisture needs
- Root aeration
- Nutrition
- Acidity
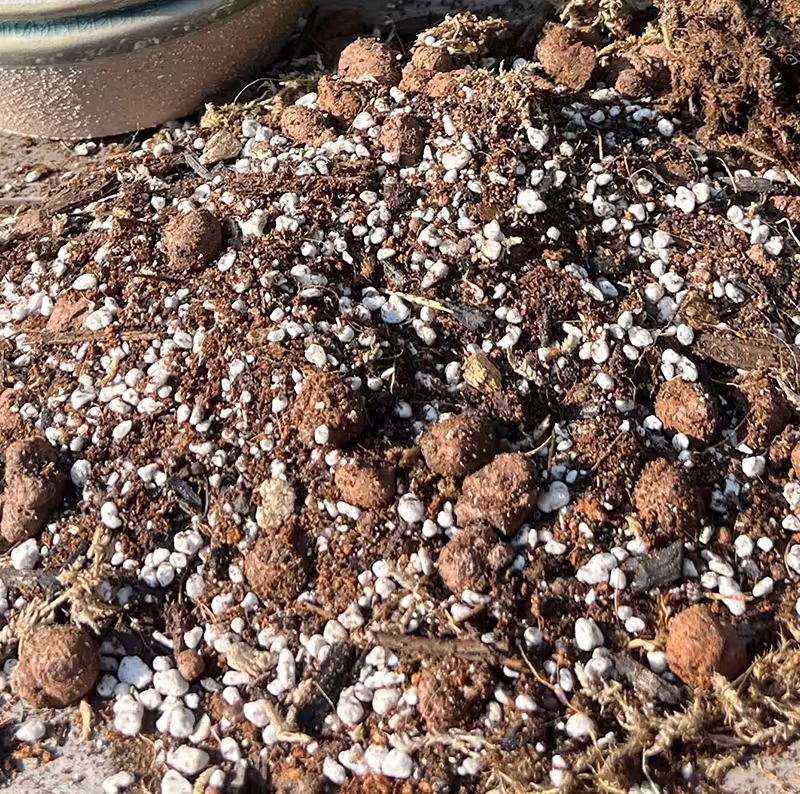
Repotting houseplants in raw compost will often lead to soggy, damaged roots and poor leaf development. Take a look at our range of expert soil mixes and make sure you’re giving your houseplant the home it needs.
Step 2: Prepare the New Pot
Cover the base of your pot with a thin layer of soil.
Make sure you’re using a pot with plenty of drainage holes
Don’t get a pot that’s too big. Most plants only want a couple more inches of space with each repotting. Oversized pots lead to soggy soil and root rot.
Don’t add stones or gravel as a drainage layer. It might seem helpful, but this actually makes water sit higher in the pot. Good drainage comes from the soil mix.

Step 3: Remove Your Plant From Its Old Pot
A gentle touch is always best.
Hold your plant steady by the main stem and ease the pot away from the plant.
If your plant feels stuck, loosen around the edge of the soil with your fingers. Don’t pull harder on your plant.
Even plants with thick, woody stems have delicate roots beneath the surface. Rough handling can damage any kind of houseplant.

Step 4: Check the Roots
Once your plant is out, inspect the roots.
Healthy roots are usually:
- Pale cream, tan, or light brown
- Firm
- Earthy smelling
Unhealthy roots may be:
- Black
- Mushy
- Sour smelling

Step 5: Loosen the Root Ball
If the roots are circling tightly around the pot, gently loosen them with your fingers.
You don’t need to remove every bit of old soil, but it helps to free the outer roots so they can grow into the new mix.
Now’s the time to trim away any unhealthy or rotten roots. Use a clean pair of shears and take extra care not to damage any healthy roots.
The goal here is to create enough space for new roots to grow outwards instead of continuing to coil.

Step 6: Position the Plant in the New Pot
Place your plant into the new pot and check the height.
The plant should sit at the same soil level as it was in the old pot.
Don’t bury the stem deeper than it was in the old pot, as this can encourage rot around the base.
Add more soil to the base of your pot until the plant is stable and at the correct level.
Try not to compress the soil beneath the plant at this stage.

Step 7: Fill Around the Roots
Add fresh soil around the root ball, filling in the gaps gradually.
Firm it gently with your fingers, but don’t compact it tightly. Roots need air as much as they need water.
The plant should feel secure, but the soil should still feel loose and open.
This is where you really appreciate a good soil mix. Open-structured soil gives plenty of weight and texture to keep plants secure, whilst giving roots a constant airflow.

Step 8: Water Thoroughly
After repotting houseplants, water them very well.
Saturate the soil mix until water runs out of the drainage holes.
This helps settle the soil around the roots and fills in any large gaps you might have missed.
Make sure you let the pot drain completely afterwards.
I always recommend bottom watering, but it’s especially important after repotting to encourage deep root growth.

Aftercare
For the first few weeks after repotting houseplants:
- Avoid fertilising
- Don’t overwater
- Keep it away from radiators
- Avoid cold draughts
- Give it as much light as possible
It’s normal for plants to pause growth briefly after repotting. A few yellow leaves are not always a disaster, but soggy soil is.
For more helpful plant care tricks and advice, take a look at some of our other guides.


Leave a Reply