Repotting a monstera is one of the most important parts of keeping it healthy long-term. It gives the roots more space, refreshes the soil, and lets you add a support pole without any risk of damaging the roots or compressing the soil.
Taking a bit of time here to properly repot your monstera makes everything easier for the plant afterwards.
When to Repot a Monstera
Most monstera need repotting every 1–2 years, depending on how fast they’re growing and the conditions they’re in.
But I don’t follow a strict schedule, I always repot based on what the plant is telling me.
Signs it’s time to repot:
- Roots growing out of the drainage holes
- Soil drying out very quickly after watering
- The plant becoming top-heavy or unstable
- Roots circling tightly around the pot (root-bound)
- Slower growth during the growing season
- Water running straight through without soaking in

If I notice a couple of these at once, I know it’s time to get to work.
What You’ll Need
- A new pot (3–5 cm wider than the current one)
- Fresh chunky soil mix designed for aroids
- A support pole (moss poles work best)
- Clean, sharp scissors or shears
Always make sure the new pot has drainage holes.
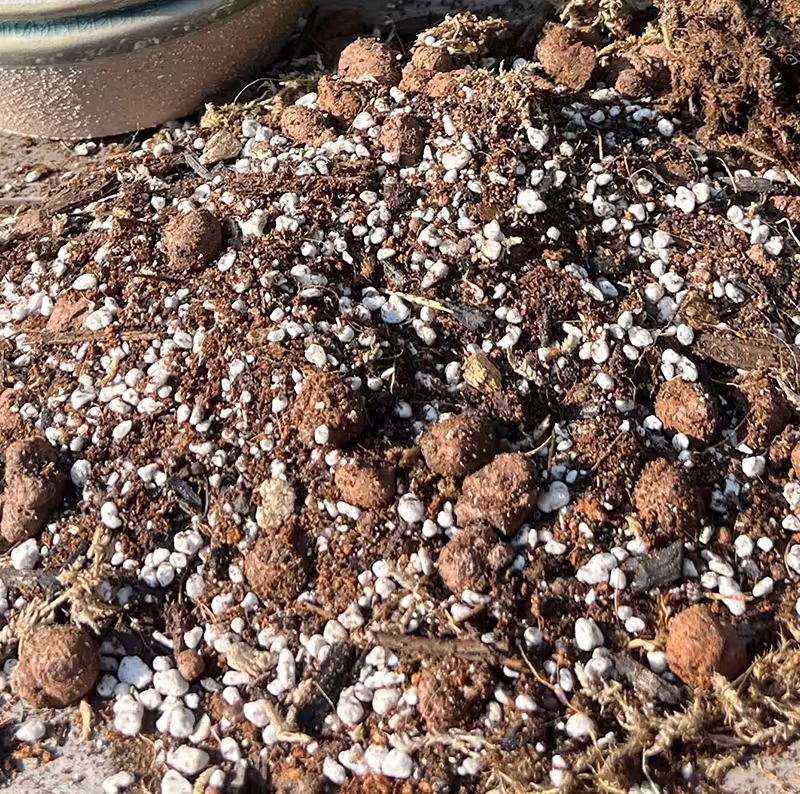
The Ideal Soil Mix
The most important thing about monstera soil is that it doesn’t stay compact or waterlogged.
What the mix needs:
- Drainage – excess water must move through easily
- Aeration – roots need access to air
- Moisture retention – holds water without staying soggy
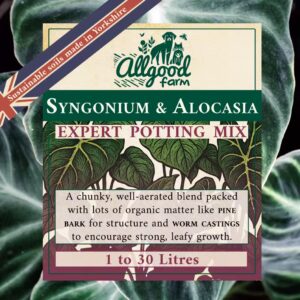
Our expert soil mix
After lots of research, testing, and growing, I can confidently say that Allgood Farm have created the best soil mix for Monstera. A good soil mix takes so much work and stress off your shoulders, making watering, feeding, and caring for your monstera a breeze.
Some other brands just throw a few pebbles and wood chips in some compost and call it a day, but our mix perfectly balances high drainage, aeration, moisture and nutrient retention, and all the extra goodies to support a diverse and healthy microbiome. This keeps roots healthy, monstera happy, and banishes any trace of root rot.
Our mix is also impressively chunky, making it almost impossible for the soil to be compressed by even the biggest monstera. As our bestselling soil mix, I have hand mixed thousands of litres of this stuff. If there’s one thing I know, it’s good dirt, and this is really good dirt.
Step 1: Prepare the New Pot and Pole
I always set up the pot and support before handling the plant.
- Add a base layer of soil to the pot
- Insert the support pole firmly into the pot
- Position the pole slightly off-centre, near where the main stem will sit
Getting the pole in early avoids damaging roots later. For help on making your own moss pole, check out my handy guide.

Step 2: Remove the Plant from Its Pot
Gently remove the monstera from its current pot.
- Tip the pot sideways
- Support the base of the plant
- Ease it out slowly by gripping the main stem
If it’s getting stuck, I loosen the soil around the sides of the pot rather than pulling harder on the plant.

Step 3: Inspect the Roots
Once the plant is out, I take a moment to look at the roots.
Healthy roots are:
- Light in colour (white or cream)
- Firm to the touch
- Have a slightly earthy smell
What I remove:
- Black or mushy roots
- Any sections that smell sour or rotten
I use clean shears and only remove what’s necessary.

Step 4: Loosen the Root Ball
If the plant is root-bound, I gently loosen the roots.
- Tease apart tightly circling roots
- Open up the outer layer slightly
- Remove as much old soil from the root ball as you can
- Avoid pulling too aggressively
This helps the roots grow outward into the new soil instead of continuing to circle.

Step 5: Position the Plant
I place the monstera into the new pot.
- Keep it at the same depth it was before
- Position the main stem near the support pole
- Adjust height using soil underneath if needed
Make sure the plant sits naturally and upright. This is the only chance you get to correct any problems with the main stem leaning.

Step 6: Fill with Soil
I fill around the roots with the soil mix.
- Add soil gradually
- Lightly press it down to remove large air gaps
- Don’t compact it too tightly
The soil should hold the plant and the support pole steady without feeling dense.

Step 7: Secure the Plant to the Pole
Once planted, I guide the main stem towards the support.
- Use soft ties to attach the stem loosely
- Avoid tying around nodes, aerial roots, and new growth
- Space ties along the stem for support
This step helps the plant start growing in the right direction, and makes it easier for aerial roots to find the support.

Step 8: Water Thoroughly
After repotting, I give the plant a full watering.
- Water until it drains from the bottom
- Let excess water drain completely
- Return the plant to its usual spot
This settles the soil around the roots and removes any remaining air pockets. I always bottom water my monstera. For advice on how to bottom water effectively with very little mess, take a look at my monstera watering guide.

Aftercare
Repotting can be a bit of a shock for the plant, so I keep things steady afterward.
- Avoid direct sunlight for a few days
- Don’t fertilise immediately
- Let the plant adjust before making further changes
It’s normal for the plant to pause growth briefly. I leave it alone, let it settle, and try not to panic. If you’ve used a gentle hand, given it a good soil mix, and watered thoroughly, your monstera will spring back in no time with renewed vigour.


Leave a Reply